How to Use WPS Button on Netgear Router?
Netgear router provides several features along with the web interface utility, modes, and WPS button. Netgear Nighthawk WiFi router gives fast internet services and reliable network to its users.
But, you can also connect any brand repeater, booster or range extender to the router. This connection will expand network coverage and signals in your house.
This link can easily established without using any cable via WPS button on the Netgear router.
Here, we will help you to use WPS button on Nighthawk router to connect a range extender and how to configure it after physical connection. So, let’s start the blog without wasting any second.
WPS Link Between Netgear Router and Extender
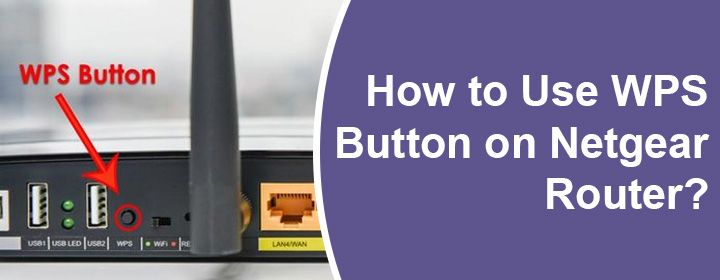
The WPS button location depends on various models of the Netgear routers. These location can be front panel, top side or along side of other buttons of the router.
Now, follow some simple steps to link router with the range extender. But, before starting to connect devices, you must be sure that you have completed the Netgear router setup.
Turn on Range Extender
- First of all, you have to turn on the extender by plugging in the extender to electric wall socket near to the router.
- Hit the power button on the WiFi range extender to turn it on.
Connect both Device via WPS
- Then, you have to locate WPS button on both of the devices.
- At first press the button on the router and then hit the button on range extender.
If the WPS method is not working, then you can use the Ethernet cable to establish the router to extender connection.
Connection Using Ethernet Cable
- You should start by placing the extender near to the router.
- Then, insert the Ethernet cable to the extender’s WAN port and route’s LAN port.
Now, you can turn on the extender by plugging it in wall socket and pressing the power On/Off button.
After the connection, you must configure the extender by accessing the device interface using your computer or laptop.
Let’s see how you can adjust your range extender with the help of below written instructions.
Configure Range Extender to Complete Connection
Configuration after the connection is a must do process. You just have to follow some of the below given steps to complete the link between the router and extender.
1. Connect a Computer/Laptop
You have to link your computer or laptop to the extender with the help of the LAN cable. And then open an updated web browser in your computer and search the extender IP address like 192.168.1.1. It is given on the label of the device along with username and password.
2. Access Extender Interface
To access the interface you have to reach the login page and enter the login credentials here. Then, simply hit the Enter button. You will access the interface of the range extender which is connected to the Netgear router via WPS method.

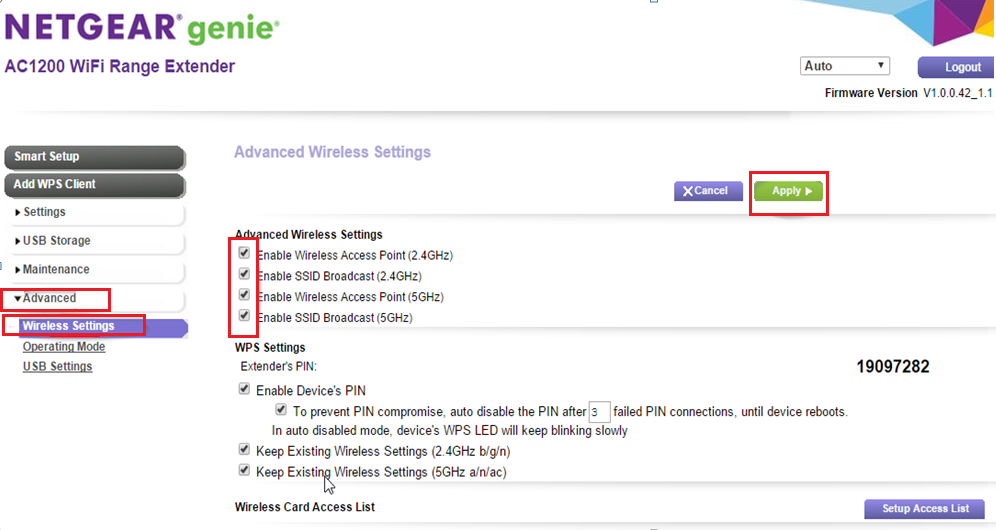
3. Adjust Extender Settings
Here, on this interface screen, you have to follow every step given to setup the extender. After successfully adjusting the settings and network, you can simply use the internet services without any interruption.
End Section
Above, you have seen and learned how to connect your new extender via Nighthawk WPS button. We have also added section and subsections of range extender configuration at the end of the blog. We hope you have learned to use the WPS button on Netgear router to add more networking device in your home.
